
Wooden Island Makeover!
- Aug 26, 2016
- 4 min read
This beauty was fixed up not for me, but for an actual client! Woohoo! The client’s name is Ariel and she is a sorority sister and dear friend of mine. I was super stoked when she asked me if I could fix up her wooden island and I would like to overly thank her for trusting me with this special piece.

Some background…this piece has been in Ariel’s family for over 20 years so of course she wanted to keep it…future family heirloom in the making and solid wood furniture is hard to come by! Only issue was that this piece was pretty damaged. I’m not sure what happened to it during those 20 years, but I’m thinking either it was a bad finish or maybe it had been exposed to the elements at some point? No clue, but at any rate, the piece had a thick layer of grime on it and the damage went pretty deep into the wood.


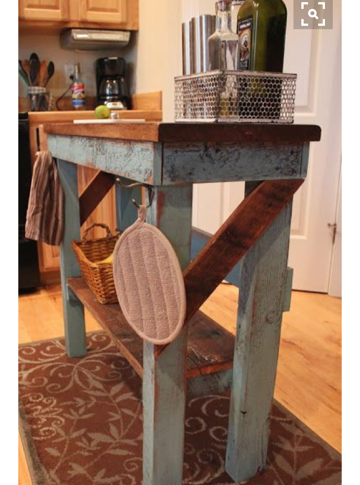
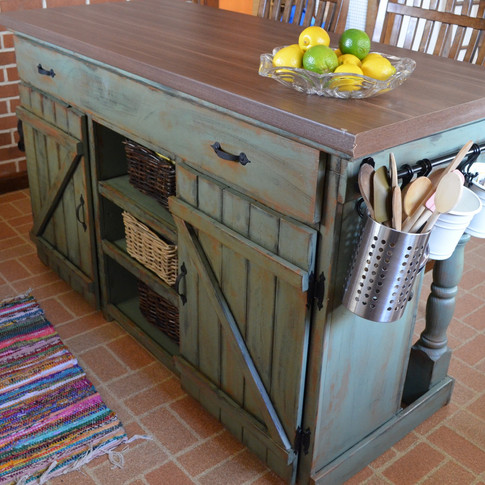
Inspiration?? So the photo on the left is one that Ariel sent me as an idea of what she was looking for and then I found the picture on the right via Pinterest (every DIYer’s best friend).


1. Tackle the Grime. So I really couldn’t tell what I was working with in the beginning. I knew I wanted the top to be stained which might mean a LOT of sanding or maybe all this piece needed was a good scrubbin’. I started by simply taking a damp rag and rubbing really hard, which actually made a huge difference, but there was still grime. I read online that rubbing the piece with mineral spirits might help if the original finish was oil-based so I tried that next. Unfortunately, there was still grime so I waited a full 24 hours to let the piece dry and then moved on to sanding.

2. Sanding for Days! This piece needed SO much sanding, which caused some issues in my home.* I used my orbital sander to do a quick once-over over the whole piece...but wait, why sand the whole piece when you’re just going to stain the top? So I slightly lied. My intentions were to stain the entire piece and then go back over all but the top with paint. This way when I distress the piece, the wood that shows through has the same stain color as the top. Anyway, I probably went through 30 sandpaper sheets before this piece was ready. I used 80-grit sandpaper for the heavy duty sanding and then 120-grit and 220-grit to smooth out the piece. Before moving on to the next step, I wiped down the piece with a damp rag to remove all dust and let it sit overnight to dry.


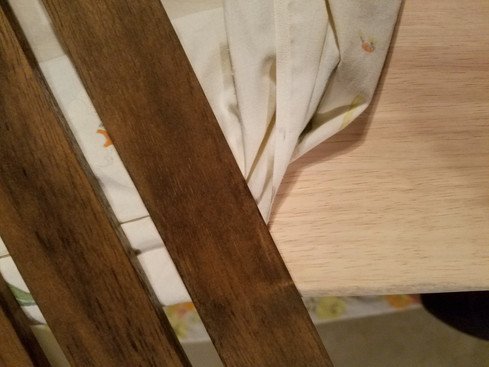
3. Pre-Conditioner and Stain. I was very concerned about blotchiness with this piece…probably because I grew very distrustful after the sanding for days portion…so I first applied a stain pre-conditioner by MinWax. This was very simple to use. It’s a thin liquid that you apply to a section of the piece via a regular brush. The only trick is that you need to wait 15 minutes before applying stain, but you must apply stain within two hours of applying the pre-conditioner. So you have a 1.75-hour window. Therefore, I would apply pre-conditioner to an entire section and then apply stain to that section before moving onto another. For the stain, I used MinWax Dark Walnut. When it comes to staining, I always have a rag handy to wipe the stain and I ALWAYS wear gloves. Stain will stain you as well! I use the rag to wipe almost immediately after applying one or two strokes of stain in the beginning that way I can determine how much stain the wood is soaking up…you’d be surprised how much this can vary. For this piece, I was constantly wiping. Let the stain sit for at least two hours before applying additional stain or painting.


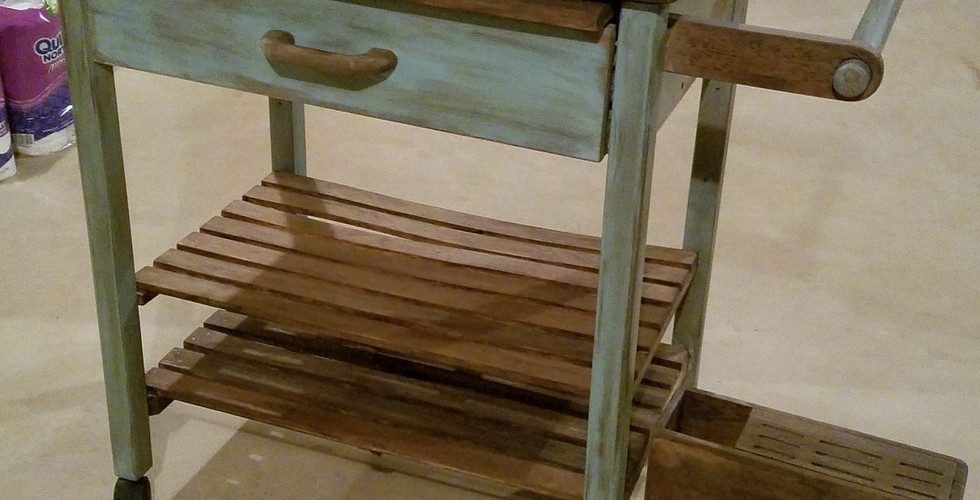
4. Paint. Like I mentioned, the original plan was to paint everything but the top; however, the piece took the stain so well that I decided only to paint the main body of the piece (i.e. legs, sides, drawer face) and the towel rod to contrast the stained wood. I used AS Duck Egg Blue and my AS round brush and painted in rough “X”s…this is what AS said to do in some video. Terrible memory. I only painted one coat since I wanted a darker hue to the paint anyway. As you can see in the photo, the paint was still too thick so I knew I had to distress to get the look I wanted. Honestly, I felt it looked like a toy...and Ariel is an adult...so something had to be done!

5. Distress. Clear Wax. Dark Wax. I keep going back and forth on whether I distress (with 120-grit sandpaper) before or after applying AS Clear Wax. This time, I distressed beforehand. After distressing, I used a brush to brush off any dust and then applied one coat of clear wax. I still thought the blue paint looked too new so then I went over the piece with AS dark wax.


6. Seal the Stain. I used Polyurethane to seal the stain and Voila! the piece was done!
Sure, sanding was a pain in the butt, but it is all worth it when you’re happy with the stain in the end! Do you have a piece you’re looking to fix up? Use the Contact Page to ask me for any advice or instructions!

*The issue was that I had never done THIS much sanding in my basement before…normally, there’s a small trace of dust that I sweep up, but this time, there was a thick layer of dust on EVERYTHING in my basement…meaning I had to deep-clean my entire basement…not fun. Like I was wiping down boxes and our suitcases…just a mess. How to avoid this? Sand outside or constantly wipe the dust off with a rag instead of letting your orbital sander blow the sanding dust everywhere. Lesson learned, my friends!


Comments